
- unhas-de-gel-stunning-looks-with-affordable-nail-polish”>Unhas de Gel: Stunning Looks with Affordable Nail Polish
- Understanding Unhas de Gel
- Benefits of Unhas de Gel
- Longevity and Durability
- A Glossy Finish
- Minimal Drying Time
- The Process of Applying Unhas de Gel
- Essential Tools and Products
- Step-by-Step Application Guide
- Choosing Affordable Nail Polish for Unhas de Gel
- Understanding Gel Polish Options
- Maintenance Tips for Unhas de Gel
- Avoid Exposing to Harsh Chemicals
- Keep Nails Hydrated
- Schedule Regular Fills
- Removing Unhas de Gel Safely
- Exploring Creative Designs for Unhas de Gel
- Ombre Effect
- Nail Art Stickers and Stencils
Unhas de Gel: Stunning Looks with Affordable Nail Polish
Unhas de gel, or gel nails, have taken the beauty industry by storm, offering long-lasting, stunning finishes that leave a lasting impression. With their glossy appearance and incredible durability, many are turning to gel nails as a favored choice for manicures. You might wonder how to achieve these beautiful looks without breaking the bank. In this comprehensive guide, we will explore everything you need to know about unhas de gel, from their benefits and application processes to tips for maintaining your manicure and choosing affordable nail polish.
Understanding Unhas de Gel
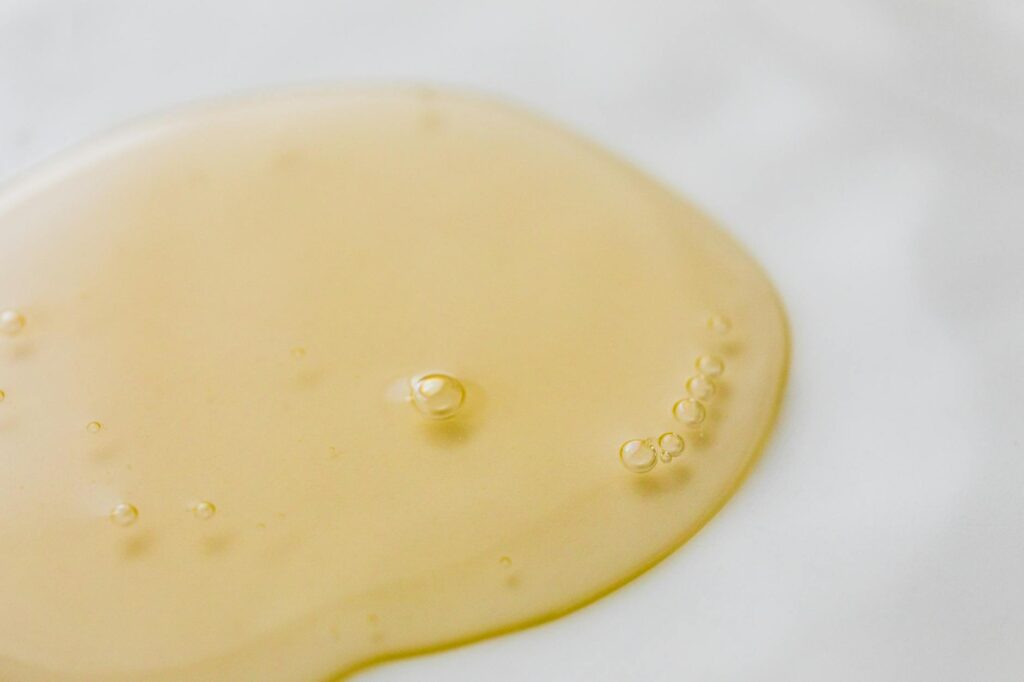
Unhas de gel are created using a special gel polish that hardens when exposed to UV or LED light. This unique curing process distinguishes gel polish from regular nail polish, providing a shiny finish that can last from two to four weeks without chipping or fading. Moreover, the versatility of gel polish allows for a wide array of colors, designs, and finishes, making it a popular choice for all occasions.
Benefits of Unhas de Gel
Longevity and Durability
One of the most attractive aspects of unhas de gel is their longevity. Unlike traditional nail polish, which may chip after just a few days, gel nails maintain their stunning appearance for weeks. This durability makes them an ideal choice for individuals who lead active lifestyles or those who want to keep their nails looking pristine without constant touch-ups.
A Glossy Finish
The glossy finish of gel nails is another major draw. The curing process gives the gel polish a shine that is difficult to replicate with regular nail polish. This high-shine appearance not only enhances the beauty of the nails but also makes them look well-groomed and sophisticated.
Minimal Drying Time
Once the gel polish is cured under UV or LED light, it is instantly dry. This feature eliminates the fear of smudging your nails after a fresh manicure, making it perfect for those who are always on the go.
The Process of Applying Unhas de Gel
Applying gel nails requires specific products and tools to ensure a successful outcome. While this can seem daunting, once you get the hang of it, it can be a straightforward process.
Essential Tools and Products
To begin your journey into the world of unhas de gel, gather the following tools and products:
1. Gel Base Coat: The foundation for your gel manicure, ensuring adherence to your nails.
2. Gel Nail Polish: Available in an array of colors and finishes.
3. Gel Top Coat: Provides an additional layer of protection and enhances the shine.
4. UV or LED Lamp: Required to cure the gel polish.
5. Nail Prep Products: Such as a nail file, buffer, and alcohol wipe for cleaning the nail surface.
Step-by-Step Application Guide
1. Prep Your Nails: Start by cleaning your nails. Remove any previous polish and use a nail file to shape them. Buff the surface gently to create a better adhesion surface for the gel.
2. Apply the Base Coat: Using a thin layer of gel base coat, apply it to each nail, ensuring to cover the entire nail and the edges. Cure under the UV or LED lamp according to the manufacturer’s instructions.
3. Apply Gel Color: Once the base coat is cured, apply a thin layer of your chosen gel color. Cure it under the lamp again. For best results, you may want to apply a second coat of color, curing after each layer.
4. Finish with Top Coat: After you have achieved your desired coverage, apply a gel top coat and cure once more. The top coat seals in your design and adds extra shine.
5. Cleanse and Hydrate: Finally, use an alcohol wipe to remove any sticky residue from your nails. Follow up with cuticle oil to hydrate your nails and surrounding skin.
Choosing Affordable Nail Polish for Unhas de Gel
Understanding Gel Polish Options
While professional-grade gel polishes can be pricey, there are many affordable options that deliver excellent results. Here are several budget-friendly brands that are gaining popularity among DIY nail enthusiasts:
– Gelish: Known for its extensive color range and reliable formulas, Gelish offers professional quality at a reasonable price.
– Modelones: This brand is well-loved for its affordability and vibrant shades. Modelones offers all-in-one kits that can save time and money.
– Saviland: Producing affordable gel polishes without compromising quality, Saviland is a fantastic option for beginners.
When shopping for gel polish, consider looking for sales, discounts, or bundles, as purchasing in bulk can help save money in the long run.
Maintenance Tips for Unhas de Gel
Caring for your unhas de gel is essential for ensuring they stay beautiful for as long as possible. Here are some practical maintenance tips:
Avoid Exposing to Harsh Chemicals
While gel nails are durable, exposure to harsh chemicals can weaken their integrity. When cleaning or using products like nail polish remover, wear gloves to protect your hands and nails.
Keep Nails Hydrated
Regularly applying cuticle oil will help maintain the health of your nails, preventing them from becoming dry and brittle. Hydrated cuticles lead to stronger nails and a longer-lasting manicure.
Schedule Regular Fills
As your natural nails grow, the gap between your cuticle and the gel polish may become noticeable. Scheduling a fill every two to three weeks will keep your nails looking fresh and prevent lifting.
Removing Unhas de Gel Safely
When it’s time to remove your gel nails, do so carefully to avoid damaging your natural nails. Here’s a step-by-step guide on how to safely remove gel polish:
1. Buff the Top Layer: Using a nail file, gently buff away the top coat of the gel polish. This step is important as it allows the acetone to penetrate better.
2. Soak a Cotton Ball in Acetone: Saturate a cotton ball with 100% acetone and place it on the nail.
3. Wrap in Foil: Wrap a small piece of aluminum foil around the cotton ball to keep it in place. Repeat for each nail.
4. Wait: Allow the nails to soak for 10 to 15 minutes. This process will help dissolve the gel polish.
5. Scrape Off Gently: After soaking, gently scrape off the gel polish with a wooden stick or a rubber cuticle pusher. If the polish doesn’t come off easily, repeat the soaking process.
6. Moisturize: After removal, wash your hands and apply a nourishing cuticle oil to restore moisture to your nails.
Exploring Creative Designs for Unhas de Gel
The versatility of gel nails extends far beyond solid colors. With the right techniques and tools, the creative possibilities are endless. Here are a few ideas to inspire your next gel manicure:
Ombre Effect
Achieving an ombre look with gel polish is easier than it seems. Start with a darker base color at the cuticle and gradually blend into a lighter shade toward the tip. Use a makeup sponge to help blend the colors seamlessly.
Nail Art Stickers and Stencils
Invest in nail art stickers and stencils to create intricate designs with minimal effort. These tools can help you achieve professional-looking nail art without the (Incomplete: max_output_tokens)