
- unhas-de-gel”>Understanding Unhas de Gel
- The Composition of Gel Nails
- Advantages of Choosing Unhas de Gel
- 1. Pain-Free Application
- 2. Durability and Flexibility
- 3. A Natural Appearance
- 4. Quick Drying Time
- 5. Less Odor
- 6. Versatile Design Options
- 7. Strengthening Properties
- The Application Process for Unhas de Gel
- Step 1: Preparation
- Step 2: Base Coat
- Step 3: Color Application
- Step 4: Top Coat
- Step 5: Aftercare and Maintenance
- Maintenance Tips for Long-Lasting Unhas de Gel
- 1. Avoiding Water for Extended Periods
- 2. Use Gloves for Household Chores
- 3. Regular Touch-Ups
- 4. Hydrate Your Cuticles
- 5. Be Gentle
- Removing Unhas de Gel Safely
- Step 1: Soaking
- Step 2: Gently Scraping
- Step 3: Buffing
Unhas de Gel: A Surprising Pain-Free Solution
Unhas de gel have revolutionized the beauty industry, emerging as a popular choice for those looking to achieve stunning, long-lasting manicures without the pain often associated with traditional nail enhancements. With their increasing popularity, many are left wondering exactly what unhas de gel are, how they work, and why they might be the perfect solution for your nail care needs. In this comprehensive guide, we’ll dive deep into the world of gel nails, exploring their benefits, application techniques, maintenance tips, and much more, all while emphasizing their impressive qualities that set them apart from other nail options.
Understanding Unhas de Gel
Unhas de gel, or gel nails, are a type of artificial nail enhancement made from a special type of gel that is combined with a curing process using UV or LED light. This process not only provides a beautiful finish but also ensures durability, lending itself to the growing trend of long-lasting manicures. Unlike traditional acrylic nails, gel nails are known for their flexibility, shine, and natural look, making them a preferred choice for many.
The Composition of Gel Nails
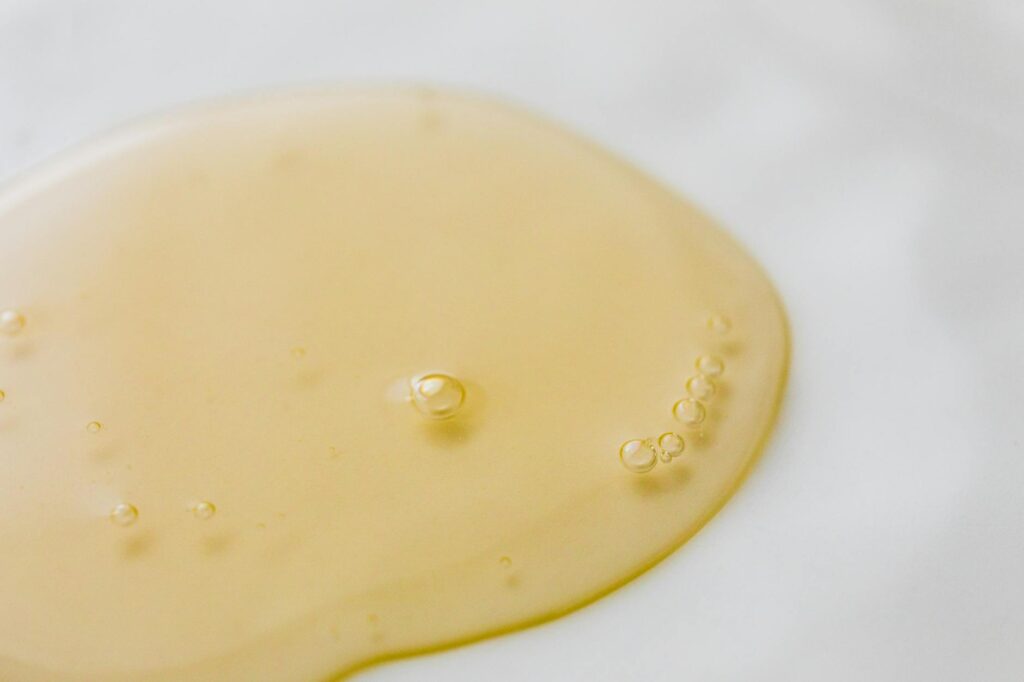
The core of unhas de gel consists of a combination of monomers and oligomers—essentially raw materials that are cured into a gel substance. When exposed to UV or LED light, these materials undergo a chemical reaction called photopolymerization, which hardens the gel and bonds it to the natural nail. This unique composition is what gives gel nails their strength without compromising on appearance.
Advantages of Choosing Unhas de Gel
When considering nail enhancements, it’s crucial to weigh the pros and cons. Unhas de gel offer numerous benefits that make them a viable alternative to traditional nail enhancements. Here are some of the standout advantages:
1. Pain-Free Application
One of the most surprising aspects of unhas de gel is their pain-free application process. Unlike acrylic nails, which often require filing down the natural nail and can lead to discomfort, gel nails usually require less aggressive preparation. This means that the overall experience can be much more pleasant, making it a go-to choice for those who have sensitive nails or simply want a gentler option.
2. Durability and Flexibility
With proper application and care, gel nails can last between two to four weeks without chipping. Their flexibility allows them to endure everyday activities without easily breaking, unlike traditional nail polishes that can chip or become brittle. This longevity makes them perfect for anyone looking for a low-maintenance nail solution.
3. A Natural Appearance
Unhas de gel are well-known for their high glossy finish and natural look. They can be shaped to mimic the look of natural nails and come in a variety of colors and designs. Whether you want a classic French manicure or something more adventurous, gel nails can meet your aesthetic preferences.
4. Quick Drying Time
The curing process used for gel nails means they dry almost instantly after being exposed to UV or LED light. This reduces wait time in the salon significantly, allowing you to resume your day without the anxiety of smudging your freshly done nails.
5. Less Odor
Unlike traditional acrylic nails, which often emit strong chemicals, gel nails have a relatively low odor. Many people find this less off-putting, making the overall salon experience more enjoyable.
6. Versatile Design Options
Unhas de gel can be designed in countless ways, allowing for intricate nail art to be easily integrated into your manicured look. Whether you prefer simple elegance or vibrant designs, gel nails allow for a great deal of creative expression.
7. Strengthening Properties
Certain gel formulations actually contain ingredients that can strengthen natural nails, which may be beneficial for those with brittle or weak nails. This can help avoid breakage during the growth process, allowing for healthier, stronger nails in the long run.
The Application Process for Unhas de Gel
Step 1: Preparation
Before applying unhas de gel, proper preparation is essential. This includes thoroughly cleaning the nails and surrounding skin to remove any oils or residues. A gentle buffing of the nail surface may also be carried out to enhance adhesion.
Step 2: Base Coat
The first layer of gel applied is a base coat. This functions as a primer for the gel, allowing it to adhere more effectively to the natural nail. The base coat is cured under UV or LED light for about 30 seconds to 2 minutes, depending on the lamp used.
Step 3: Color Application
Once the base coat is cured, the desired gel color is applied. Nail technicians typically apply two coats to ensure a vibrant color. Each coat must be cured in the same manner to prevent smudging and to ensure the gel adheres firmly.
Step 4: Top Coat
The final layer is a top coat that provides that brilliant shine we associate with gel nails. It also adds a layer of protection against chips and scratches. This top coat is cured and may sometimes require a wipe with alcohol to remove any sticky residue.
Step 5: Aftercare and Maintenance
After completing the application, a good nail technician will provide aftercare instructions. This often includes avoiding prolonged exposure to water and using cuticle oil regularly to maintain hydration in the surrounding area.
Maintenance Tips for Long-Lasting Unhas de Gel
While gel nails are designed to be durable, proper maintenance is crucial for longevity and to keep your nails looking their best. Here are some tips for maintaining your unhas de gel:
1. Avoiding Water for Extended Periods
While gel nails are water-resistant, prolonged exposure can weaken the adhesion over time. Try to avoid soaking your hands in water or using them for tasks that require high moisture.
2. Use Gloves for Household Chores
When engaging in activities such as dishwashing or cleaning, consider wearing gloves. This protects your nails from harsh chemicals and excessive moisture that could compromise their integrity.
3. Regular Touch-Ups
Scheduling touch-up appointments every two to three weeks is advisable for maintaining a polished look. This allows your technician to fill in any gaps and ensure your gel nails stay looking fresh and beautiful.
4. Hydrate Your Cuticles
Applying cuticle oil regularly helps maintain healthy nails and skin around the nails, which can prevent dryness and potential lifting of the gel.
5. Be Gentle
While gel nails are durable, they are not indestructible. Being gentle when using your hands can prevent accidental lifting or breakage.
Removing Unhas de Gel Safely
One of the essential aspects of gel nails is the safe removal process. Unlike traditional nail polish, peel-off methods can harm your natural nails. Here’s how to safely remove unhas de gel:
Step 1: Soaking
Begin by soaking a cotton ball with acetone and placing it over each nail. Wrap each finger in aluminum foil to keep the acetone contained. This step usually takes about 10 to 15 minutes.
Step 2: Gently Scraping
After soaking, gently scrape off the softened gel using a wooden stick or a cuticle pusher. Avoid using metal implements, as these can damage the natural nail.
Step 3: Buffing
Once most of the gel is removed, lightly buff the surface of the nails to help remove any remaining residue and to smoothen the nail surface. (Incomplete: max_output_tokens)