
- unhas-de-gel”>Understanding Unhas de Gel
- The Benefits of Gel Nails
- The Magic of Papel Moldes
- What Are Papel Moldes?
- Why Choose Papel Moldes?
- The Application Process: Step-by-Step Guide
- 1. Preparation
- 2. Choosing the Right Papel Moldes
- 3. Adhesive Application
- 4. Placing the Molds
- 5. Applying the Gel
- 6. Curing
- 7. Finishing Touches
- Creative Ideas for Stunning Designs
- Geometric Patterns
- Ombre Effects
- Glitter Accent Nails
- Floral Designs
- Marble Effect
- Metallic Finishes
- Caring for Your Unhas de Gel
- Hydration is Key
- Avoid Excessive Water Exposure
- Don’t Use Your Nails as Tools
- Regular Maintenance
- Why You Should Make the Switch to Unhas de Gel with Papel Moldes
Unhas de Gel: Stunning Papel Moldes for Effortless Nails
Unhas de gel have revolutionized the manicure scene, allowing for stunning designs and long-lasting results. Among the various aspects of nail art and maintenance, one method stands out for its ease and aesthetics—papel moldes. This article will delve into the world of unhas de gel, exploring the benefits of using papel moldes, the application process, and creative design ideas that will help you achieve the perfect nails effortlessly.
Understanding Unhas de Gel
Before diving into the specifics of papel moldes, it’s crucial to understand what unhas de gel are. Gel nails are a type of artificial nail enhancement that uses a special gel formula to create a durable, glossy finish. Unlike traditional nail polish, gel nail applications are cured under a UV or LED lamp, giving them their exceptional strength and shine.
The Benefits of Gel Nails
1. Durability: One of the biggest advantages of unhas de gel is their resistance to chipping and breaking. When properly applied and cared for, gel nails can last up to three weeks without any noticeable wear.
2. Versatility: Gel nails can be shaped and painted in countless ways, making them suitable for all occasions—whether it’s a night out, a wedding, or everyday wear.
3. Glossy Finish: Gel nails offer a shine that is often unmatched by traditional nail polish. This high-gloss finish not only looks beautiful but can also enhance nail designs.
4. Quick Application: Modern gel applications have become faster than ever, especially with the advent of nail wraps and molds that streamline the process.
The Magic of Papel Moldes
Papel moldes are not just a passing trend; they have gained popularity for their efficiency and ease of use, particularly among those who may not be professional nail artists. But what exactly are they?
What Are Papel Moldes?
Papel moldes, or paper molds, are essentially templates designed to help shape and curate gel nails. They come in various sizes and designs, catering to different nail shapes—from stiletto to coffin, and everything in between. The advantage of these molds is that they provide an effortless guide for achieving consistent, perfect nails every time.
Why Choose Papel Moldes?
Opting for papel moldes can significantly enhance your DIY manicure experience. Here are some compelling reasons:
1. Time Efficiency: Because they serve as a guide, papel moldes can cut down application time, letting you achieve beautifully shaped nails in a fraction of the time it would normally take.
2. Less Mess: Using molds reduces the amount of gel that may accidentally spill onto your skin or surrounding areas, keeping the process clean and straightforward.
3. Consistency: If you’re trying to achieve a specific nail shape across several fingers, papel moldes help ensure that each nail is shaped similarly, providing a harmonious look.
4. Ease of Use: They are user-friendly, even for beginners. The simplicity of using molds can make the prospect of doing your nails less daunting, allowing for a fun and enjoyable experience.
The Application Process: Step-by-Step Guide
1. Preparation
To get the most out of your gel nails, proper preparation is key. Start by cleaning and sanitizing your hands and tools. Then, follow these steps:
– Remove Old Polish: If you have prior nail work, be sure to remove all old polish completely.
– File and Buff: Lightly buff the surface of your nails to create a better adhesion surface for the gel.
– Push Back Cuticles: Gently push back your cuticles to prevent any gel from settling on the cuticle area, which can lead to lifting.
2. Choosing the Right Papel Moldes
Select the appropriate papel moldes based on your desired nail shape. Ensure that they are the correct size for your natural nails to avoid any discomfort during application.
3. Adhesive Application
For most molds, you’ll need to apply a specialized adhesive or gel base coat to your natural nail. This ensures that the mold adheres properly during the curing process.
4. Placing the Molds
Carefully place the papel moldes onto your prepared nails. Ensure they fit snugly and securely. If the molds have an adhesive back, press them firmly onto your nails.
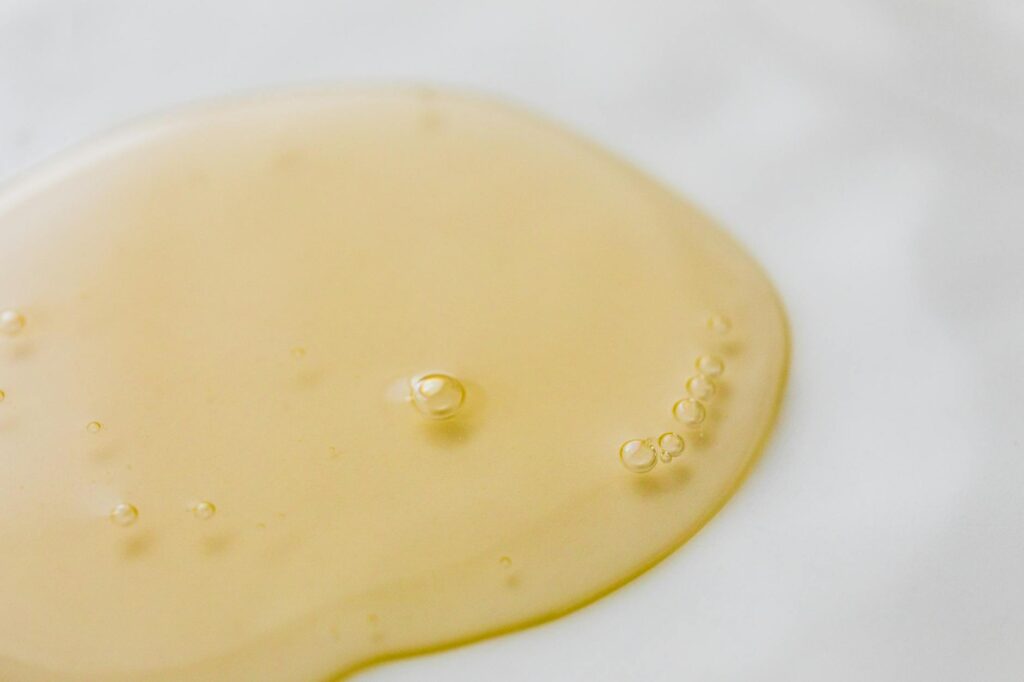
5. Applying the Gel
Using a brush, apply the gel over the mold. Start at the cuticle area and work your way to the tip of the nail. Be generous but careful to avoid any skin contact.
6. Curing
Once you’ve applied the gel, place your hands in a UV or LED lamp to cure. Refer to the gel manufacturer’s instructions for the appropriate curing time—usually around 30 seconds for LED and a bit longer for UV.
7. Finishing Touches
After curing, gently peel off the papel moldes to reveal your perfectly shaped nails. Shape them further if needed and apply a topcoat for extra shine and protection. Additionally:
– Allow the topcoat to cure again in the lamp.
– Clean up any edges with a brush dipped in acetone for a polished finish.
Creative Ideas for Stunning Designs
Papel moldes act as a fantastic canvas for various nail art ideas. Here are some stunning designs you can experiment with:
Geometric Patterns
Using different colors, create geometric designs that are both chic and modern. You can use tape or a fine brush to add lines and shapes once the base gel is applied.
Ombre Effects
An ombre effect is a timeless favorite. Blend two or more colors by applying one shade and then gradually mixing in another to create a gradient look.
Glitter Accent Nails
Use papel moldes to create a solid base color on most of your nails and add glitter to one or two accent nails. This dual look can elevate your style for any occasion.
Floral Designs
Floral designs are perfect for any season. Use a fine brush or nail stickers to add delicate flowers over a base layer of gel.
Marble Effect
The marble nail design is eye-catching and sophisticated. This can be achieved with a few drops of white and a contrasting color, then swirled together gently before curing.
Metallic Finishes
Incorporate metallic gel polishes to achieve a striking, eye-catching effect. These are perfect for a glamorous night out.
Caring for Your Unhas de Gel
Taking care of your gel nails is crucial for ensuring their longevity. Here’s how to maintain them:
Hydration is Key
Regularly apply cuticle oil to keep your nails hydrated. Dry, brittle nails are prone to breaking and chipping.
Avoid Excessive Water Exposure
Prolonged exposure to water can weaken gel nails. Always wear gloves when doing dishes or cleaning.
Don’t Use Your Nails as Tools
Avoid using your nails for tasks like opening cans or peeling off labels. This will help prevent any unintended damage.
Regular Maintenance
Consider getting your gel nails filled and maintained every two to three weeks. This helps keep your nails looking fresh and fabulous.
Why You Should Make the Switch to Unhas de Gel with Papel Moldes
If you’ve never tried unhas de gel with papel moldes, you’re missing out on an incredible experience. The combination offers ease of application and stunning results (Incomplete: max_output_tokens)