
- unhas-de-gel”>Understanding Unhas de Gel
- The Benefits of Gel Nails
- Different Types of Gel Builders
- Hard Gel
- Soft Gel
- Builder Gel
- Gel Polish
- Comparing Professionals: What to Look For in a Gel Nail Technician
- Certification and Training
- Portfolio of Work
- Hygiene Standards
- Product Knowledge
- Consultations
- Application Techniques for Unhas de Gel
- Step 1: Preparation
- Step 2: Base Coat
- Step 3: Builder Application
- Step 4: Curing
- Step 5: Top Coat
- Step 6: Finishing Touches
- Maintaining Unhas de Gel
- Regular Maintenance
- Hydration is Key
- Follow-Up Appointments
Unhas de Gel: A Must-Have Guide to Construtor Differences
Unhas de gel, or gel nails, have taken the beauty industry by storm, providing a long-lasting solution for those looking to maintain perfectly polished nails. With their glossy finish and impressive durability, gel nails are often considered a must-have for anyone wanting to enhance their manicure. However, understanding the intricacies of gel nail construction is vital to ensure you choose the right method and product that caters to your specific needs. In this guide, we will delve into the differences between various types of gel builders, their application methods, and tips for maintaining those stunning nails.
Understanding Unhas de Gel
Before diving into the differences in gel constructors, it’s worth noting what makes unhas de gel so appealing. Unlike traditional nail polish, gel nails are composed of a special type of polymer that hardens under a UV or LED light. This provides a sturdy finish that can withstand everyday wear and tear far better than conventional nail polish.
The Benefits of Gel Nails
1. Durability: One of the main advantages of gel nails is their long-lasting nature. They can often resist chips and breaks for two to three weeks, depending on proper application and maintenance.
2. High Shine: Gel nails maintain a high level of gloss, giving your hands a polished look without the need for frequent touch-ups.
3. Quick Drying: The curing process under UV or LED lights hardens the gel almost instantly, allowing you to avoid the frustrating smudging that often accompanies traditional nail polish.
4. Customizable: The versatility of gel products allows for creativity; they can be used for simple color changes, intricate nail art, or even to extend nail length.
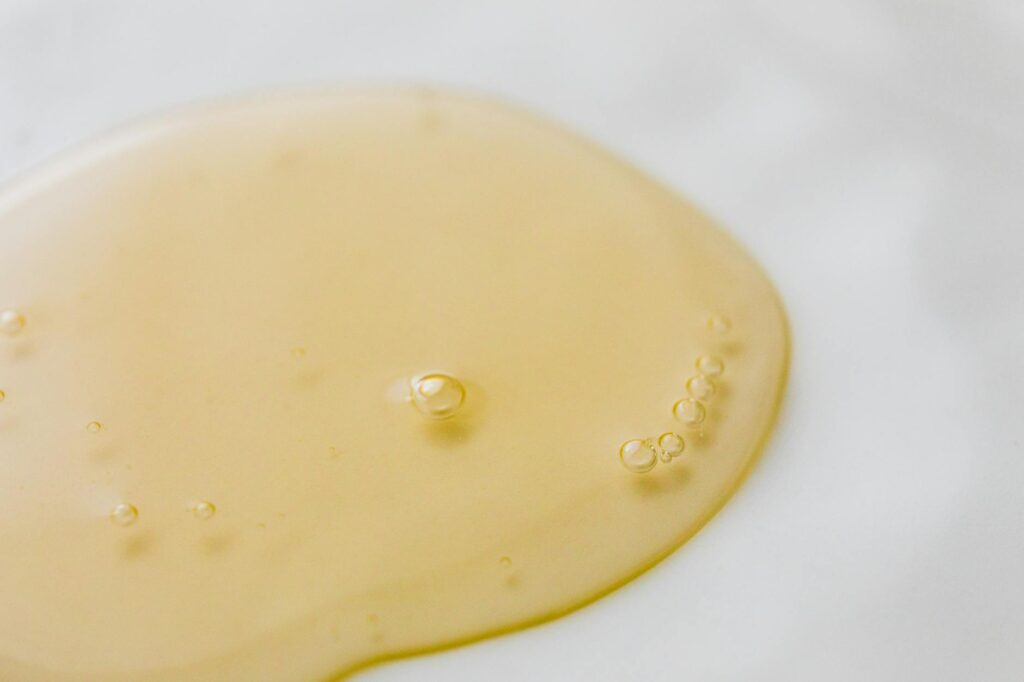
Different Types of Gel Builders
When it comes to unhas de gel, not all gel systems are created equal. Various types of gel builders exist, each designed for different nail care needs and preferences. In this section, we’ll break down some of the most popular types:
Hard Gel
Description
: Hard gel, as the name suggests, is a robust type of gel that hardens and forms a solid layer over the natural nail.
Applications:
– It can be used to extend the length of nails.
– Suitable for sculpting and creating intricate nail designs.
Pros:
– Offers excellent durability and strength.
– Can be built up to a specific shape, making it ideal for nail extensions.
Cons:
– Requires a skilled technician for application.
– Removal can be extensive, often needing to be filed off.
Soft Gel
Description
: Soft gel is more flexible than hard gel and is designed primarily for short nail enhancements and overlays.
Applications:
– Perfect for natural nail overlays.
– Often used for nail art and design embellishments.
Pros:
– Easier to remove than hard gel.
– Provides a natural look with a glossy finish.
Cons:
– Less durable than hard gel.
– Not suggested for extensions due to its flexibility.
Builder Gel
Description
: Builder gel is an intermediate option that combines the properties of hard and soft gels.
Applications:
– Excellent for creating an arch in the nail.
– Can be used for both overlays and extensions.
Pros:
– Offers great control and building capacity.
– More flexible than hard gel but harder than soft gel.
Cons:
– Can sometimes appear too thick if not applied correctly.
– Requires curing just like hard gel.
Gel Polish
Description
: Gel polish is a liquid gel that acts similarly to traditional nail polish but with the added benefits of gel nails.
Applications:
– Ideal for delivering color while still offering a gel-like finish.
– Suitable for quick applications and changes.
Pros:
– Easier and faster to apply than traditional gel builders.
– Quick to remove with soak-off processes.
Cons:
– Less durable than hard gel.
– Not suitable for extensive nail art or shapes.
Comparing Professionals: What to Look For in a Gel Nail Technician
When you decide on getting unhas de gel, it’s crucial to choose a skilled technician who understands the differences between the various gel types and techniques. Here’s a guide to help you select the right professional:
Certification and Training
Always look for technicians who have certified training in gel nail application. This ensures that they understand the chemical properties and safe practices associated with nail enhancements.
Portfolio of Work
Request to see a portfolio of their previous work. This will give you an insight into their style, finesse, and whether they have experience with the specific gel type you’re interested in.
Hygiene Standards
It cannot be stressed enough how crucial hygiene is in any nail salon. Make sure the salon adheres to strict cleanliness and sanitization practices. Tools should be sanitized, and the work area should be clean.
Product Knowledge
A qualified technician should be knowledgeable about the products they use. They should be able to discuss the differences between hard gel, soft gel, and builder gel, as well as which suits your needs best.
Consultations
Before committing to a service, a consultation can be beneficial. It allows you to communicate your expectations and preferences, giving the technician a clearer understanding of how to achieve your desired look.
Application Techniques for Unhas de Gel
Understanding the basics of how gel nails are applied can help you prepare for your appointment and know what to expect. Here’s a general breakdown of the application process:
Step 1: Preparation
The technician will first assess your nails and prepare them by cleaning, buffing, and possibly trimming the cuticles. Proper preparation helps the gel adhere better to the nail.
Step 2: Base Coat
A base coat is applied to create a foundation for the gel. The base coat is typically cured under a UV or LED lamp, which hardens it.
Step 3: Builder Application
Depending on the type of gel selected—hard, soft, or builder—the technician will then apply the chosen gel. This can involve sculpting or layering to achieve the desired shape.
Step 4: Curing
Each layer of gel applied is cured under a UV or LED lamp. This is a crucial part of the process, as it ensures the gel hardens correctly and securely.
Step 5: Top Coat
Once the nails have been built to your satisfaction, a top coat is applied. This layer not only adds an extra sheen but also protects the nails from damage. It is once again cured under the lamp.
Step 6: Finishing Touches
Finally, the technician may use oils or lotions to hydrate your hands and cuticles. Some may even buff the nails to achieve an extra glossy finish.
Maintaining Unhas de Gel
Once your beautiful gel nails are applied, taking care of them is essential to prolong their life. Here are some tips to help you maintain your nails:
Regular Maintenance
Always avoid using your nails as tools. This includes activities like opening cans or scratching surfaces. Such actions can lead to chipping or lifting.
Hydration is Key
Regularly apply cuticle oil to keep your nails and skin hydrated. This not only looks better but also helps maintain the integrity of the gel.
Follow-Up Appointments
Schedule regular follow-up appointments (every 2-3 weeks) for fills or to replace any nails that may have lifted or (Incomplete: max_output_tokens)