
- unhas-de-gel”>Understanding Unhas de Gel
- What Are Unhas de Gel?
- The Advantages of Gel Nails
- Preparing for Gel Nail Application
- Nail Health Assessment
- Cleansing the Nails
- Filing and Buffing
- Cuticle Care
- Applying Unhas de Gel
- Step-by-Step Guide
- Materials Needed
- Step 1: Base Coat
- Step 2: Color Coat
- Step 3: Top Coat
- Step 4: Cleanse
- Common Mistakes to Avoid
- Customizing Your Unhas de Gel
- Nail Art Techniques
- Ombre Effect
- Nail Decals and Stickers
- Glitter Accents
- Marble Effect
- Maintaining Your Gel Nails
- Aftercare Tips
- When to Remove or Replace Your Gel Nails
- Affordable Nail Polish Options
- Finding Budget-Friendly Solutions
- Top Budget-Friendly Gel Nail Polish Brands
Unhas de Gel: Stunning Looks with Affordable Nail Polish
Unhas de gel, or gel nails, have taken the beauty world by storm with their long-lasting durability and stunning finish. For those who love expressing their personality through manicures, gel nails are a fantastic option. In this article, we will explore the various aspects of gel nails, including their benefits, application methods, design ideas, and how to make the most of affordable nail polish to achieve stunning looks.
Understanding Unhas de Gel
What Are Unhas de Gel?
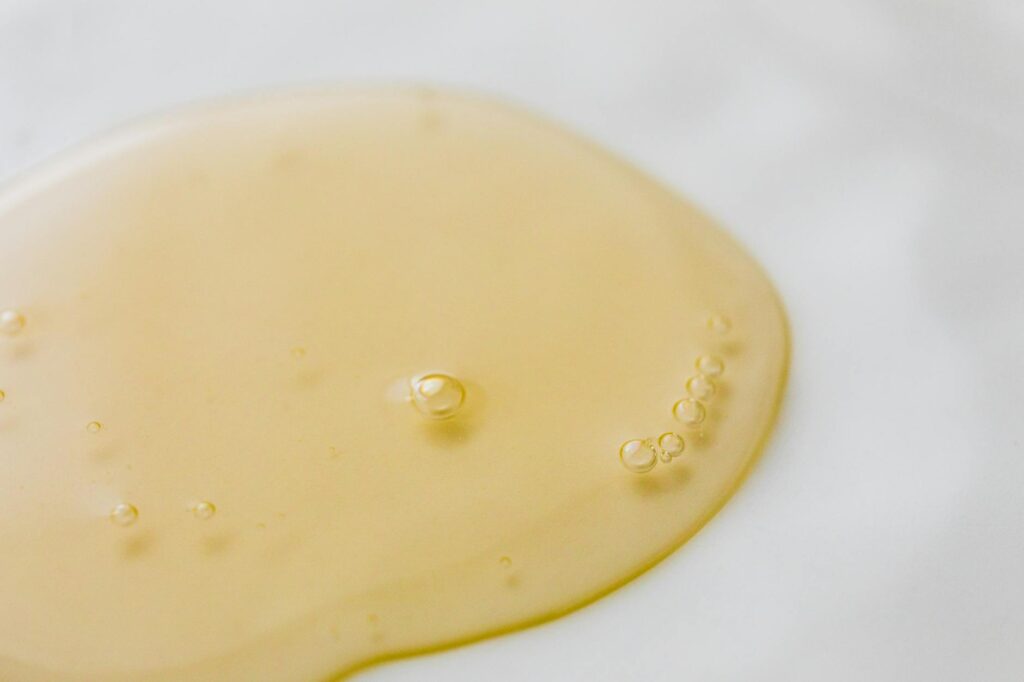
Unhas de gel are synthetic nails made from a special type of gel that hardens under ultraviolet or LED light. Unlike traditional nail polish, which dries through evaporation, gel nails undergo a chemical process that makes them more resilient and glossy. The result is a finish that can last two to three weeks without chipping, making them highly desirable for anyone looking for long-lasting nail art.
The Advantages of Gel Nails
1. Durability: One of the most notable benefits of gel nails is their durability. They are less likely to chip or break compared to conventional nail polish, making them ideal for individuals with active lifestyles.
2. High Gloss Finish: Gel nails provide a shiny, polished look that doesn’t dull over time. This glossy finish enhances the overall aesthetic of the manicure.
3. Quick Drying: Since gel nails cure under UV or LED light, your manicure is ready to go immediately after treatment. No waiting around for the polish to dry!
4. Versatile Designs: Unhas de gel provide a perfect canvas for intricate nail art designs. Whether it’s floral patterns, geometric shapes, or something custom-made, the possibilities are virtually endless.
5. Natural Look: Gel nails can be applied in such a way that they look and feel natural while adding length and shape to your nails.
Preparing for Gel Nail Application
Before diving into the art of gel nails, it’s essential to prepare your nails properly. Good preparation ensures the longevity and aesthetic appeal of your manicure.
Nail Health Assessment
Assess the health of your natural nails before starting. If you have thin, brittle, or damaged nails, it might be worth considering treatment options before applying gel.
Cleansing the Nails
Start by removing any old polish using an acetone-based remover. This prevents any residue from affecting the gel’s adhesion. Once removed, wash your hands to ensure no oils or debris remain on the nail surface.
Filing and Buffing
Use a nail file to shape your nails and a buffer to smooth the surface. Buffing not only helps the gel adhere better but also contributes to a more polished appearance once the gel is applied.
Cuticle Care
Gently push back your cuticles and trim any excessive skin. Healthy cuticles are crucial for a neat appearance and the overall durability of the gel.
Applying Unhas de Gel
Step-by-Step Guide
Now that you’re prepared, here’s a detailed step-by-step guide to applying gel nails.
Materials Needed
– Gel polish (base coat, color coat, top coat)
– UV or LED lamp
– Nail file and buffer
– Cuticle pusher
– Nail cleanser (and cotton pads)
– Lint-free wipes
Step 1: Base Coat
Apply a thin layer of base coat to your nails, ensuring not to touch the cuticles. Cure the base coat under the lamp according to the product’s instructions (usually about 30 seconds to 1 minute).
Step 2: Color Coat
Once the base coat is cured, apply a thin layer of your chosen gel color. Cure again under the lamp. For an intense color, you may want to apply a second coat.
Step 3: Top Coat
After the color is applied and cured, use a top coat to seal your nails. This will provide extra shine and protection. Cure once more under the lamp.
Step 4: Cleanse
After the top coat is cured, use the nail cleanser on a lint-free wipe to remove any sticky residue. This will leave your nails with a glossy finish.
Common Mistakes to Avoid
1. Overloading on Products: Less is more—thin layers are more effective than thick coats. Thick layers can lead to improper curing and peeling.
2. Skipping the Base Coat: Always apply a base coat. It helps with adhesion and will protect your natural nails.
3. Curing Time: Make sure to follow the recommended curing times. Inadequate curing can lead to chipping later on.
Customizing Your Unhas de Gel
Nail Art Techniques
One of the most exciting aspects of gel nails is the ability to customize them with various nail art techniques. Here are some popular methods:
Ombre Effect
The ombre technique involves blending two or more colors. Start with your base color, cure it, then add the second color and blend them together using a brush or sponge.
Nail Decals and Stickers
Gel polish can be applied over nail decals or stickers, allowing for intricate designs without the need for freehand painting.
Glitter Accents
Incorporating glitter can elevate your gel nails to an entirely new level. Simply apply the glitter over the wet color coat and cure.
Marble Effect
Create a stunning marble design by applying multiple colors onto your nail and swirling them together using a nail art brush.
Maintaining Your Gel Nails
Aftercare Tips
To ensure the longevity of your gel manicure, here are some tips for aftercare:
1. Moisturize Your Cuticles: Regularly applying cuticle oil will keep your nails healthy and hydrated.
2. Limit Exposure to Water: Prolonged exposure to water can weaken the gel, leading to lift. Use gloves while doing dishes or other water-related tasks.
3. Avoid Harsh Chemicals: Cleaners and acetone can damage the gel. Use gentle, non-acetone removers when cleaning.
4. Schedule Fills: Depending on how quickly your nails grow, consider getting fills every two to three weeks to maintain a polished look.
When to Remove or Replace Your Gel Nails
Knowing when it’s time to remove or replace your gel nails helps to keep your natural nails healthy. If you notice any lifting or damage, it’s best to schedule a removal session to protect your nail bed.
Affordable Nail Polish Options
Finding Budget-Friendly Solutions
Gel nails may sound luxurious, but affordable options are increasingly available. Here are some tips for finding budget-friendly gel polishes:
1. Shop Sales and Discounts: Keep an eye on beauty supply stores and online retailers for promotions or clearance items.
2. Explore Drugstore Brands: Many drugstore brands offer quality gel nail polishes at a fraction of the price of salon brands.
3. DIY Kits: There are numerous DIY gel nail kits available that come with everything you need to create a professional-looking manicure at home.
4. Follow Trends: As new trends emerge, older products may go on sale. This is a great opportunity to stock up on quality polishes.
Top Budget-Friendly Gel Nail Polish Brands
1. Essie Gel Couture: Known for their high-quality polishes, Essie offers a range of stunning shades that mimic salon-quality gels.
2. ** (Incomplete: max_output_tokens)