
- Understanding Gel Nails
- What Are Gel Nails?
- Types of Gel Nails
- Benefits of Gel Nails
- The Affordable Nail Polish Revolution
- Budget-Friendly Gel Nail Products
- 1. At-Home Gel Kits
- 2. Affordable Gel Polishes
- 3. DIY Nail Art Supplies
- How to Achieve Stunning Gel Nail Looks at Home
- Step-by-Step Application of Gel Nails
- Preparation Phase
- Applying Gel Polish
- Nail Art Techniques
- Maintaining Your Gel Nails
- Daily Care Tips
- Removing Gel Nails Safely
- The Psychological Aspect
- Expressing Personality Through Nail Art
- Social Interaction
- The Future of Gel Nails
- Sustainable Options
- Technological Advancements
Unhas de Gel: Stunning Looks with Affordable Nail Polish
Unhas de gel have become a favorite among beauty enthusiasts and nail art aficionados alike. As the beauty industry evolves, so does the desire for durable yet stylish nail designs. The rise of gel nails allows individuals to express their creativity while enjoying long-lasting results without an extravagant price tag. In this article, we’ll delve into the beauty of gel nails, the techniques involved, cost considerations, and how to achieve stunning results with affordable options.
Understanding Gel Nails
Before diving deeper into the aesthetics and affordability of gel nails, it’s essential to grasp what gel nails are and how they differ from traditional methods.
What Are Gel Nails?
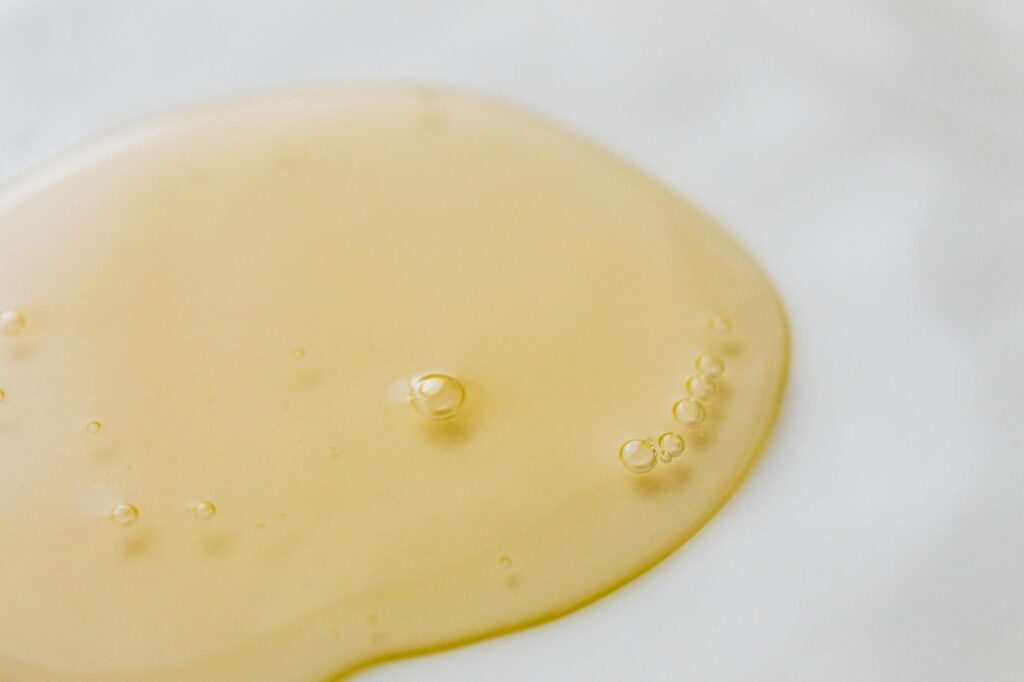
Gel nails are a type of nail enhancement created using a gel-based formula that is cured under a UV or LED light. They provide a glossy finish and generally last longer than traditional polish, making them a popular choice for many. Unlike acrylic nails, gel nails offer a more flexible and natural feel.
Types of Gel Nails
1. Hard Gel: Often used for nail extensions, hard gel is robust and provides structural support.
2. Soft Gel: This is used primarily for overlays and is easier to soak off compared to hard gel.
3. Builder Gel: This type can create stronger nails and is often used for sculpting and providing additional strength.
Benefits of Gel Nails
Gel nails provide several advantages:
– Long-lasting: With proper care, gel nails can last several weeks without chipping.
– Quick drying: The curing process under UV/LED light speeds up drying time significantly.
– Variety: They come in numerous colors, styles, and finishes, allowing for endless creativity.
The Affordable Nail Polish Revolution
One of the significant aspects of gel nails is the accessibility of affordable nail polish options. As brands have recognized the growing demand, a myriad of budget-friendly choices has emerged.
Budget-Friendly Gel Nail Products
When it comes to achieving stunning gel looks without breaking the bank, consider using the following affordable products:
1. At-Home Gel Kits
Many brands offer at-home gel nail kits, which include everything needed to apply gel polish. These kits often come complete with a UV/LED lamp, base coat, top coat, and several color polishes. Brands like Gelish and SensatioNail have gained popularity for supplying quality kits at reasonable prices.
2. Affordable Gel Polishes
In addition to kits, many companies now provide individual gel polishes at an affordable range. Brands like Essie and Sally Hansen feature gel-like formulas that mimic the look and longevity of professional treatments while remaining accessible.
3. DIY Nail Art Supplies
Creative nail designs can be achieved without the need for pricy salon visits. Basic tools like dotting pens, nail brushes, and striping tape can easily be purchased for under $20 each. Crafting your designs not only saves money but allows for individualized flair.
How to Achieve Stunning Gel Nail Looks at Home
Once you’ve gathered your supplies, you might wonder how to achieve salon-quality results in the comfort of your home. Here’s a step-by-step guide ranging from preparation to finish.
Step-by-Step Application of Gel Nails
Preparation Phase
Beginning with clean and well-groomed nails is critical.
1. Start with Clean Nails: Remove any old polish and gently buff the surface of your nails to ensure the gel adheres effectively.
2. Push Back Your Cuticles: Use a cuticle pusher to gently push back the cuticles.
3. Moisturize: Apply a bit of cuticle oil or moisturizer, ensuring you wipe excess moisture off your nail surface before applying polish.
Applying Gel Polish
Once your nails are prepped, you’re ready for application.
1. Base Coat: Begin with a thin layer of base coat, ensuring coverage from the cuticle to the free edge. Cure under your UV/LED lamp according to the product instructions.
2. Color Coat: Apply your chosen gel color, typically a thin layer first. Cure again. A second layer may be needed for a more opaque finish, followed by another curing session.
3. Top Coat: A glossy top coat adds shine and protects your design. Apply this last layer and cure one final time.
Nail Art Techniques
With gel nails, you can explore various nail art techniques. Here are some trendy ideas you can try:
– Ombre Effect: Blend two colors on your nail for a gradient effect, using a sponge to achieve the smooth transition.
– Negative Space Designs: Leave sections of your nail bare for a chic and modern look.
– Geometric Patterns: Utilize striping tape to create clean lines and shapes, which can be filled with contrasting colors for bold designs.
Maintaining Your Gel Nails
After putting in the effort to get stunning gel nails, it’s essential to maintain them. Proper care can prolong their lifespan and keep them looking fresh.
Daily Care Tips
– Moisturize Your Hands: Regularly apply hand cream to keep your skin hydrated and prevent dryness around the nails.
– Avoid Harsh Chemicals: When cleaning or doing dishes, wear gloves to protect nails from chemicals that could weaken them.
– Limit Exposure to Water: Extended exposure to water can weaken the adhesive properties of gel polish.
Removing Gel Nails Safely
When it’s time to remove your gel polish, do so safely to avoid damaging your natural nails.
1. File the Top Layer: Gently file the shiny top layer of your gel polish to allow the remover to penetrate.
2. Soak Cotton Balls: Soak cotton balls in acetone and place them on each nail, wrapping them in foil to keep them in place.
3. Wait: Leave them on for about 10-15 minutes.
4. Gently Scrape: After soaking, use an orange stick or a cuticle pusher to gently scrape away the gel. Avoid force to prevent damaging the nail.
The Psychological Aspect
Implementing at-home gel nails not only allows for stunning visuals but can also boost self-esteem. Engaging in the process of self-care and creativity contributes to mental well-being.
Expressing Personality Through Nail Art
Nail art serves as a creative outlet for many individuals, enabling them to express their personality and mood. Whether opting for something fun and quirky or elegant and sophisticated, different nail designs can enhance how individuals present themselves to the world.
Social Interaction
Sharing nail art designs on social media has become an engaging way to connect with others. Platforms like Instagram and TikTok are filled with countless tutorials and innovative designs, making it easy to discover new ideas and techniques.
The Future of Gel Nails
Looking ahead, the popularity of gel nails shows no signs of slowing down. Innovations in formulation and application techniques are continually emerging, making it easier and more affordable for everyone to enjoy stunning nails.
Sustainable Options
As the awareness of sustainability grows within the beauty industry, many brands are beginning to offer gel polishes that are free from harmful chemicals and more environmentally friendly. This shift not only caters to consumer demand but contributes to a healthier planet.
Technological Advancements
Future advancements may (Incomplete: max_output_tokens)